> ## Documentation Index
> Fetch the complete documentation index at: https://docs.gidr.ai/llms.txt
> Use this file to discover all available pages before exploring further.
# If/Else Router Node
> Create conditional branching logic in your workflows.
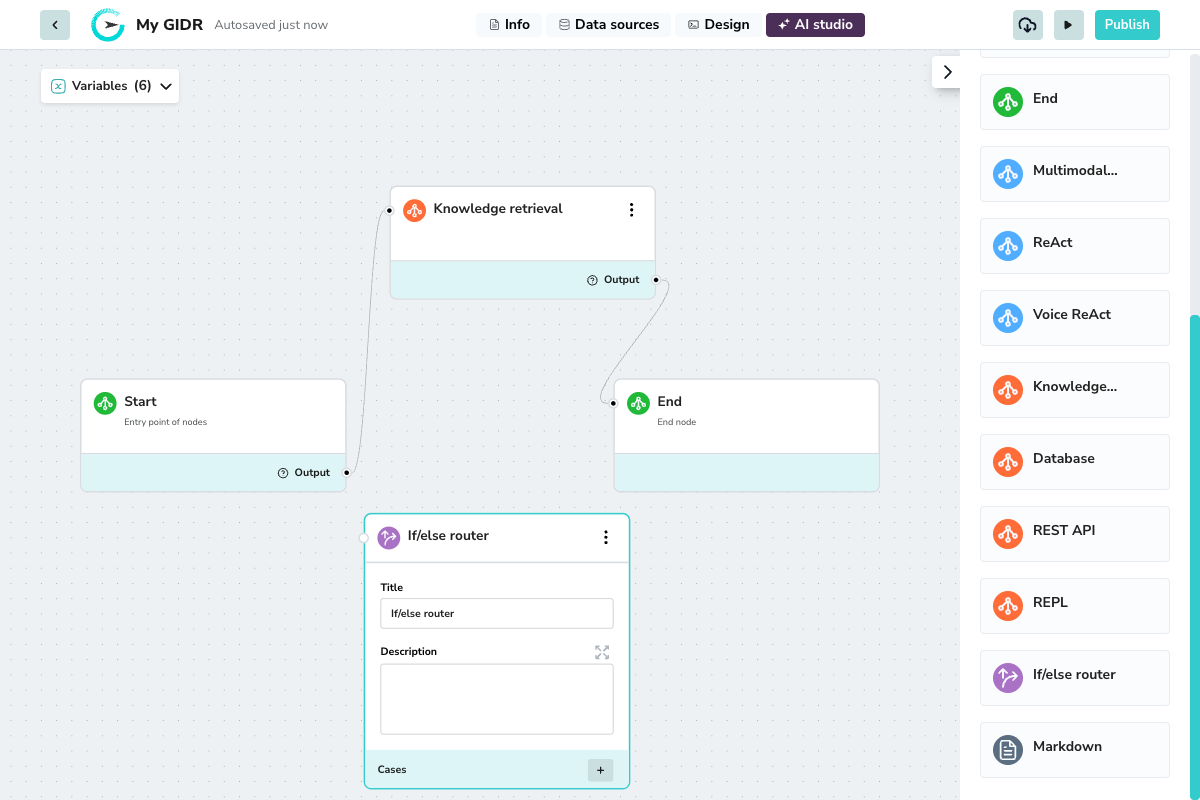
The **If/Else Router** node allows you to split your workflow into different paths based on specific conditions. This is essential for building complex agents that need to handle different user intents or data states differently.
 ## Overview
Use the Router node when you need to:
* Direct users to different agents based on their intent
* Handle error conditions differently from success paths
* Create personalized experiences based on user attributes
* Branch logic based on API responses or database results
## Configuration
## Overview
Use the Router node when you need to:
* Direct users to different agents based on their intent
* Handle error conditions differently from success paths
* Create personalized experiences based on user attributes
* Branch logic based on API responses or database results
## Configuration
 ### Basic Settings
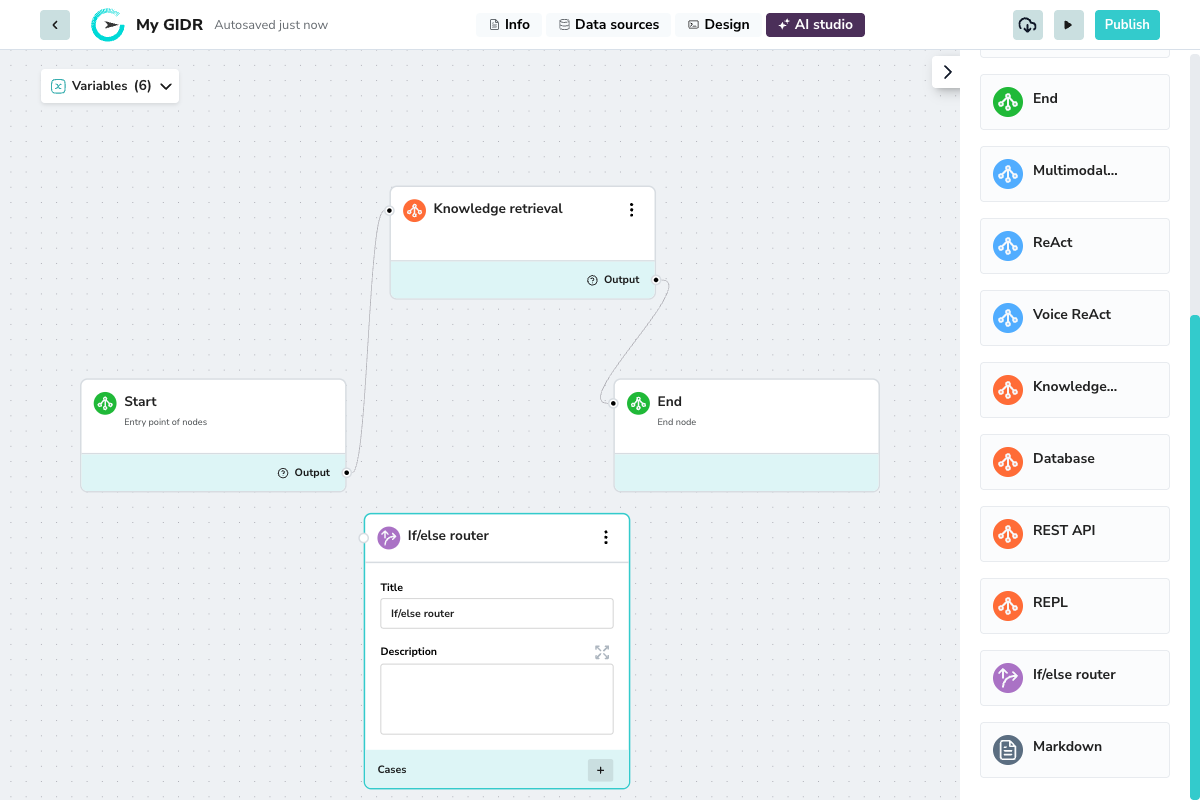
* **Title**: A descriptive name for the node (e.g., "Check User Intent").
* **Description**: Document the branching logic for future reference.
### Cases
Click the **+** button to add routing cases. Each case defines a set of conditions that, when met, route the workflow to specific target nodes.
#### Case Settings
* **Case label**: A name for this case (e.g., "Negative Sentiment", "High Priority").
* **Target nodes**: Select which downstream node(s) to route to when this case matches.
* **Operator**: Choose **AND** (all conditions must match) or **OR** (any condition can match) when you have multiple conditions.
#### Conditions
Within each case, click **+** to add one or more conditions:
| Field | Description |
| :---------------------- | :-------------------------------------------------------------------------------------- |
| **Condition label** | A name for this condition (e.g., "Check sentiment"). |
| **Comparison Type** | The type of comparison to perform. |
| **Comparison node** | The upstream node whose output you want to evaluate (e.g., Start, Knowledge retrieval). |
| **Comparison operator** | The operator to use: Contains, Equals, Greater than, Less than, etc. |
| **Value** | The value to compare against. |
### How Routing Works
The router evaluates cases in order from top to bottom. When a case's conditions are satisfied, the workflow routes to that case's target nodes. You can have multiple cases to handle different scenarios.
**Example**: Route based on user query content:
* **Case 1**: If Start node output *contains* "urgent" → route to Priority Handler
* **Case 2**: If Start node output *contains* "help" → route to Support Agent
* **Default**: Route to General Assistant
### Basic Settings
* **Title**: A descriptive name for the node (e.g., "Check User Intent").
* **Description**: Document the branching logic for future reference.
### Cases
Click the **+** button to add routing cases. Each case defines a set of conditions that, when met, route the workflow to specific target nodes.
#### Case Settings
* **Case label**: A name for this case (e.g., "Negative Sentiment", "High Priority").
* **Target nodes**: Select which downstream node(s) to route to when this case matches.
* **Operator**: Choose **AND** (all conditions must match) or **OR** (any condition can match) when you have multiple conditions.
#### Conditions
Within each case, click **+** to add one or more conditions:
| Field | Description |
| :---------------------- | :-------------------------------------------------------------------------------------- |
| **Condition label** | A name for this condition (e.g., "Check sentiment"). |
| **Comparison Type** | The type of comparison to perform. |
| **Comparison node** | The upstream node whose output you want to evaluate (e.g., Start, Knowledge retrieval). |
| **Comparison operator** | The operator to use: Contains, Equals, Greater than, Less than, etc. |
| **Value** | The value to compare against. |
### How Routing Works
The router evaluates cases in order from top to bottom. When a case's conditions are satisfied, the workflow routes to that case's target nodes. You can have multiple cases to handle different scenarios.
**Example**: Route based on user query content:
* **Case 1**: If Start node output *contains* "urgent" → route to Priority Handler
* **Case 2**: If Start node output *contains* "help" → route to Support Agent
* **Default**: Route to General Assistant