Overview
Use the Router node when you need to:- Direct users to different agents based on their intent
- Handle error conditions differently from success paths
- Create personalized experiences based on user attributes
- Branch logic based on API responses or database results
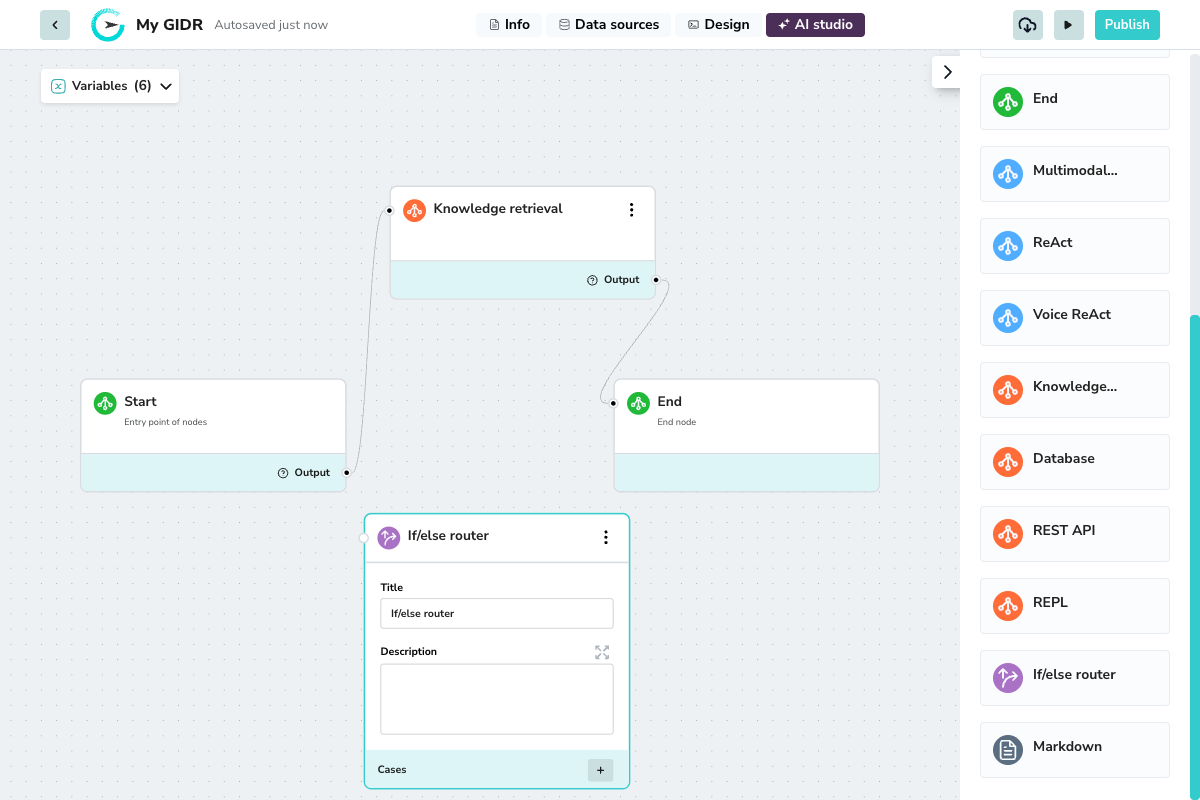
Configuration

Basic Settings
- Title: A descriptive name for the node (e.g., “Check User Intent”).
- Description: Document the branching logic for future reference.
Cases
Click the + button to add routing cases. Each case defines a set of conditions that, when met, route the workflow to specific target nodes.Case Settings
- Case label: A name for this case (e.g., “Negative Sentiment”, “High Priority”).
- Target nodes: Select which downstream node(s) to route to when this case matches.
- Operator: Choose AND (all conditions must match) or OR (any condition can match) when you have multiple conditions.
Conditions
Within each case, click + to add one or more conditions:| Field | Description |
|---|---|
| Condition label | A name for this condition (e.g., “Check sentiment”). |
| Comparison Type | The type of comparison to perform. |
| Comparison node | The upstream node whose output you want to evaluate (e.g., Start, Knowledge retrieval). |
| Comparison operator | The operator to use: Contains, Equals, Greater than, Less than, etc. |
| Value | The value to compare against. |